

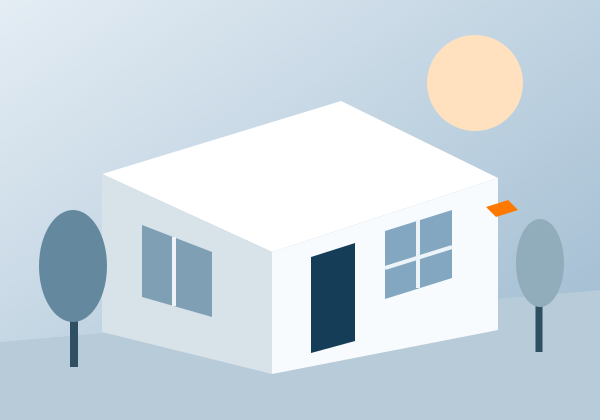
Villa layouts can create a false sense of coverage. The gate is visible, the driveway is visible, and yet a narrow passage beside the house may lead straight to another entrance. A useful plan follows access routes all the way to the building.
Start at the boundary
Walk around your authorised property and identify each practical access point. Consider pedestrian gates separately from vehicle gates. Check whether planting, a parked SUV or a solid gate interrupts a proposed view. Describe what you need to see at each point instead of asking only for a particular camera resolution.
Account for outdoor exposure
Camera placement should account for direct sun, dust and any exposure to rain or irrigation. Ask about suitable equipment housings and cable protection. A sheltered mounting position may help reduce exposure, but it still needs a clear view and access for maintenance.
Check light after sunset
Garden lighting and gate lighting can create uneven scenes. A bright wall close to the camera may reflect infrared illumination while the area behind it remains hard to see. Check the real night image rather than relying entirely on a range printed on the box.
Put the recorder somewhere sensible
The recorder needs a secure, ventilated location. It should be accessible to an authorised person for maintenance, but it does not need to be on show beside the television. Consider cable routes, network connectivity and power before agreeing the final position.
Make handover part of installation
Ask for a demonstration of live view, playback, exporting a clip and removing a user. Keep administrator credentials private. If several family members need access, use the access controls supported by the system rather than sharing a single password.
Every villa has a different mix of entrances, lighting and daily routines. Explore home and villa CCTV for the planning points to discuss.